First pull off the stickers as best as you can. I used some baby oil on a cloth to rub off anything left behind.

You want a clean slate so you can sand the bottle enough to get it nice and rough all the way around (everywhere you'll be placing paper) You can just place the mod podge directly over the stickers though if you'd like, just recommended not to.

Measure and cut the paper (papers in my case) to the size you need for your bottle. I followed the mod podge directions from this blog since it was my first time using this method. To sum up how it works, I painted a thin layer onto the prepped surface of the bottle (I did one side at a time to assure I could get it flat with no bubbles), then paint a thin layer onto the back of the paper. (Take note that by the time you put it on your paper your bottle should be practically dry) Smooth out the paper working from the center out. Once the paper is securely down all around the bottle let it dry/set for 10-15 minutes. Paint a thin layer over the paper on the bottle. The blog I followed recommended 3 coats for good measure and I completely agree. Make sure to let each coat dry in between. This will take 15-20 minutes...maybe faster if you're using a fan. I was nervous that a fan might create small bubbles if I had applied it too thick (which you are trying hard not to do obviously...thin is better) so I didn't want to risk it. Again, I was very cautious since this was my first attempt with mod podge.
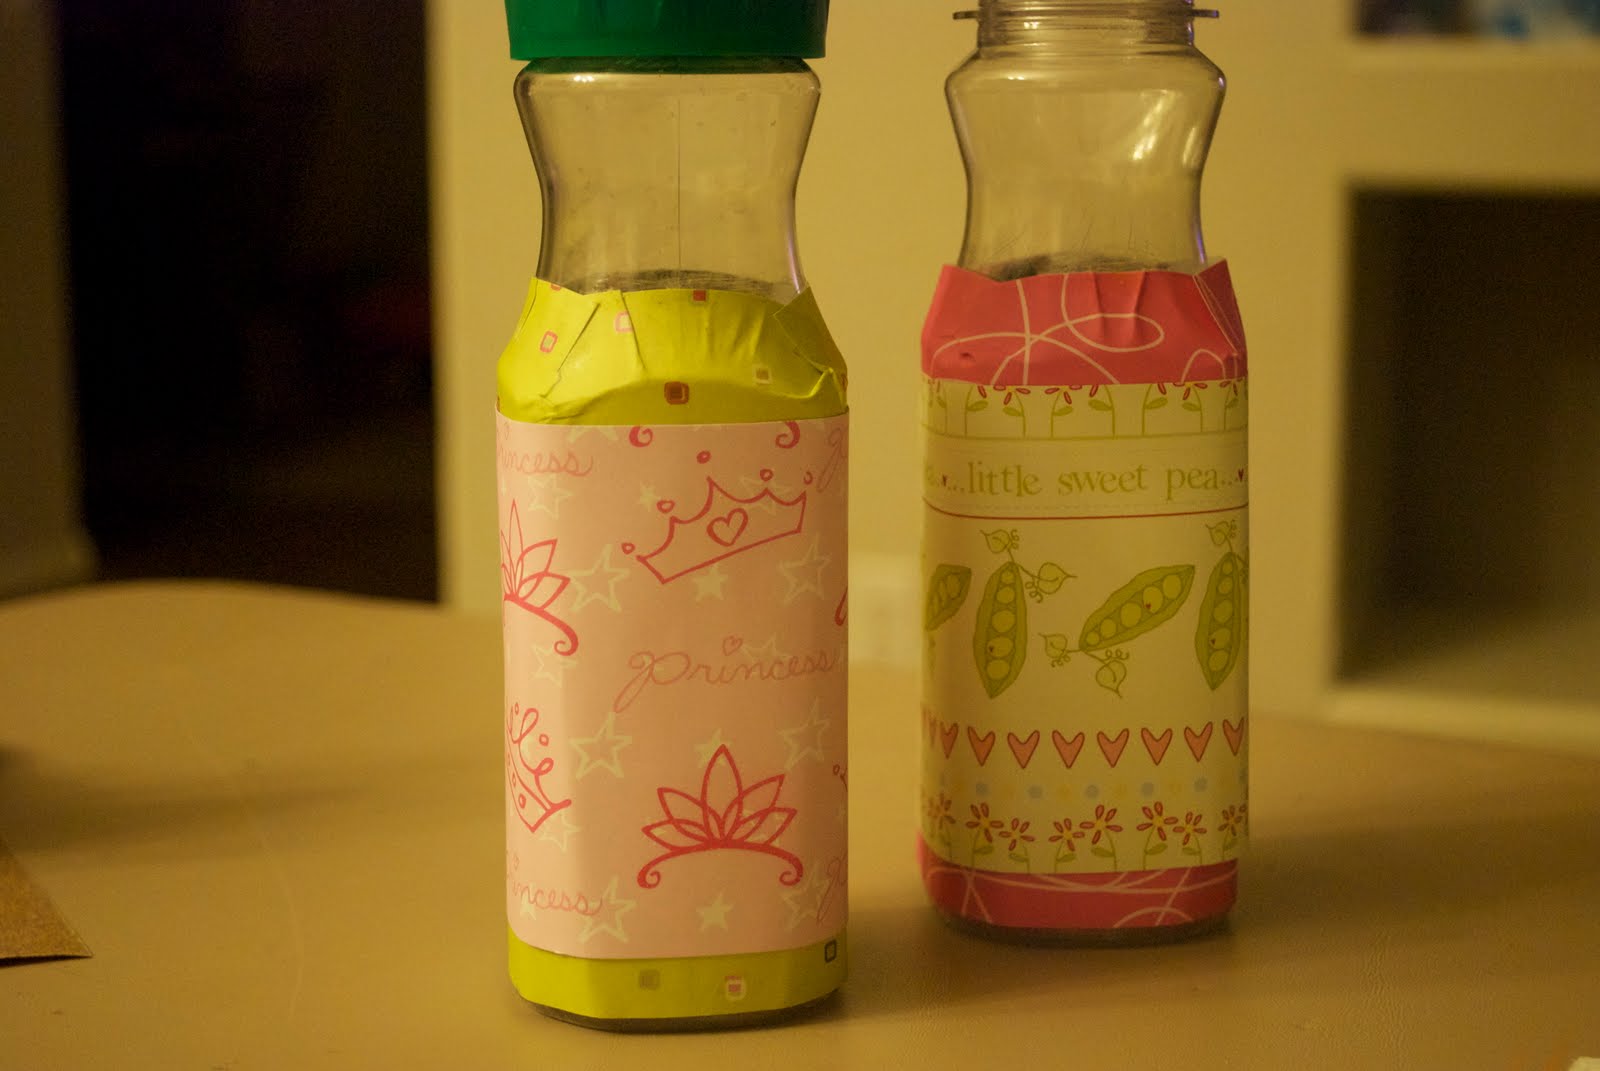
Next I painted the initial of each of my girls to stick on the front of their bottles/piggy banks.

Last but not least I add the finishing touches that make all the difference. I painted the lids pink since the hunter green lid it came with didn't match, hot glued their letters on and even added ribbon around the top with an adorable little bow. The ribbon isn't just a cute finishing touch but was also a bit of a necessity. Because of the shape of the bottle it was hard to get the paper to sit flat on the top without any bunching/overlapping. Being a bit of a perfectionist this drove me insane so I added the ribbon to hide the flaws.

All in all I'm very happy with these. I would still like to cut slits in the top but haven't been able to get around to it yet and was tired of pushing off posting this so I'll add a final picture with the lids actually on the bottles and the slit once I get it...whenever that may be :)